Frost Heaves
Winter Conditions
require special consideration of equipment for you and your bike. Road salt along with freeze/thaw icing will exacerbate deterioration of nearly every piece of your bike. More frequent basic routines will help mitigate wear, just as equipment selection can help alleviate effects of the weather.
Winter Tires
Snow is more or less like wet sand, so tires that work well on a beach will be reasonably predictable in plain snow. Ice is like - well, ice. Nothing works there but ice specific tires. For bikes, those are studded tires. Beyond that, it's complicated. You will often find a narrow-ish tire works better if prevalent conditions are those with an easily broken layer of ice atop a few inches of accumulation. The skinny tread breaks through and rides on that essentially wet sand underneath.
The "Fat Bike" is a beast with tires designed for maximum flotation. So these very low-pressure tires are much more at home in in deep softer conditions. And with the addition of studs, they can be ridden in places where it would be difficult to walk.
Studded tires can be pretty expensive but tend to last quite a while since they are only used seasonally and in conditions that do not produce much wear. Distribution of the metal across the tread pattern define their capacity. The caveat with the type (as with most very specific designs) is that they are only really suitable for a very narrow range of conditions... think baseball or soccer cleats.
Illumination
Most states and many localities require headlamps and/or taillamps during non-solar illuminated hours. A distinction should be made between devices sufficient to be seen, and those capable of safely illuminating fast approaching objects - while riding. A helmet mounted lamp allows the light to follow where you look but does not project shadows in such a way as to easily judge distances. If that is required, a somewhat higher powered handlebar mounted lamp is the solution - depending on how fast you need to go.
As with emergency vehicles, flashing lights are considerably more noticeable. Especially for rear facing illumination, flashing lights also use far less stored energy than a steady beam - so batteries can be much smaller and lighter.
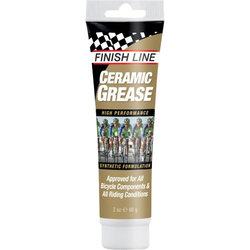
Grease Your Seatpost
Very often, a seatpost is made of a material that is different than that of the frame into which it is installed. And even if it is the same material, it should be removed, cleaned and lubricated at least annually. Corrosion can render the post unmovable or welded to the frame. This problem is exacerbated with dissimilar materials or a harsh environment. Even if your bike has never experienced rain or mud puddles, water will condense inside the tubing as it cycles between a nice warm basement and freezing outdoor conditions. With sufficient water, the tubing can even burst from the pressure exerted by this frost-action.
Take the opportunity, while servicing the post, to invert the bike and drain any accumulated H2O - unless you like it exactly where it is.
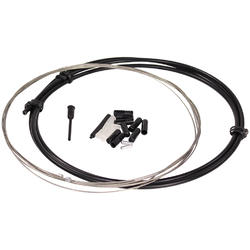
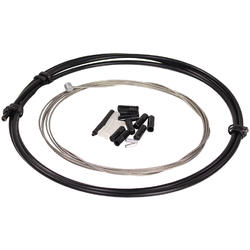
Brake & Shift Cables
Boot your boots
Most attempts at sealing brake or shift cables ultimately fail. Some schemes even shorten service life by sealing debris in - not allowing it to drain away with the water that inevitably flows through. The better strategy is to use materials that are not as bothered by occasional dunking.
Control cables suffer from the same environmental degrading effects as other parts, but their status is much more often immediate. A shift cable, in particular, has to transfer shifter actuation perfectly to the attached derailleur. More cogs crammed into the same overall space requires corresponding greater actuation precision from the shifting system.
Of course, with an electronic shifting bike - one need never shell out $4 for an exotic polished stainless steel cable again!
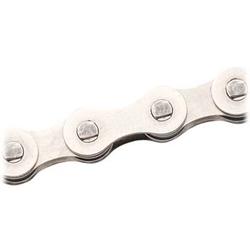
Single-ate-ify
In especially challenging winter conditions like those we often encounter here in coastal Maine, a single speed may be all you need. A purpose-built bike is the easiest option, but a conversion is pretty simple.
The first step is to remove those onerous, maintenance intensive multi-speed devices.
After that, depending on your gearing requirement, an existing chainring may be selected. Or a "narrow wide" single ring of appropriate size may be substituted. Compared to a typical chainring, especially a shifting type, it is near impossible to get the chain to fall off these.
One of the existing cassette cogs could be used as is, but it is recommended to replace the multi-cog set on the rear wheel with a dedicated single cog and spacer kit. The specific tooth profile lasts much longer than the equivalent shift version - which is meant to be used occasionally in conjunction with all the others on the cassette. The spacer kit allows attention to the chain line - which should be paid.
Finally a chain tensioner and single speed chain complete the conversion. Multi-speed chain dimensions are 1/2 X 3/32 - compared to 1/2 X 1/8 for a single speed. The larger chain will work ok with the smaller cog dimension but the smaller chain will not work with a 1/8" cog.